Restoring iPhone 8: Solving the 'Press Home to Upgrade' Error
Introduction
Problem statement
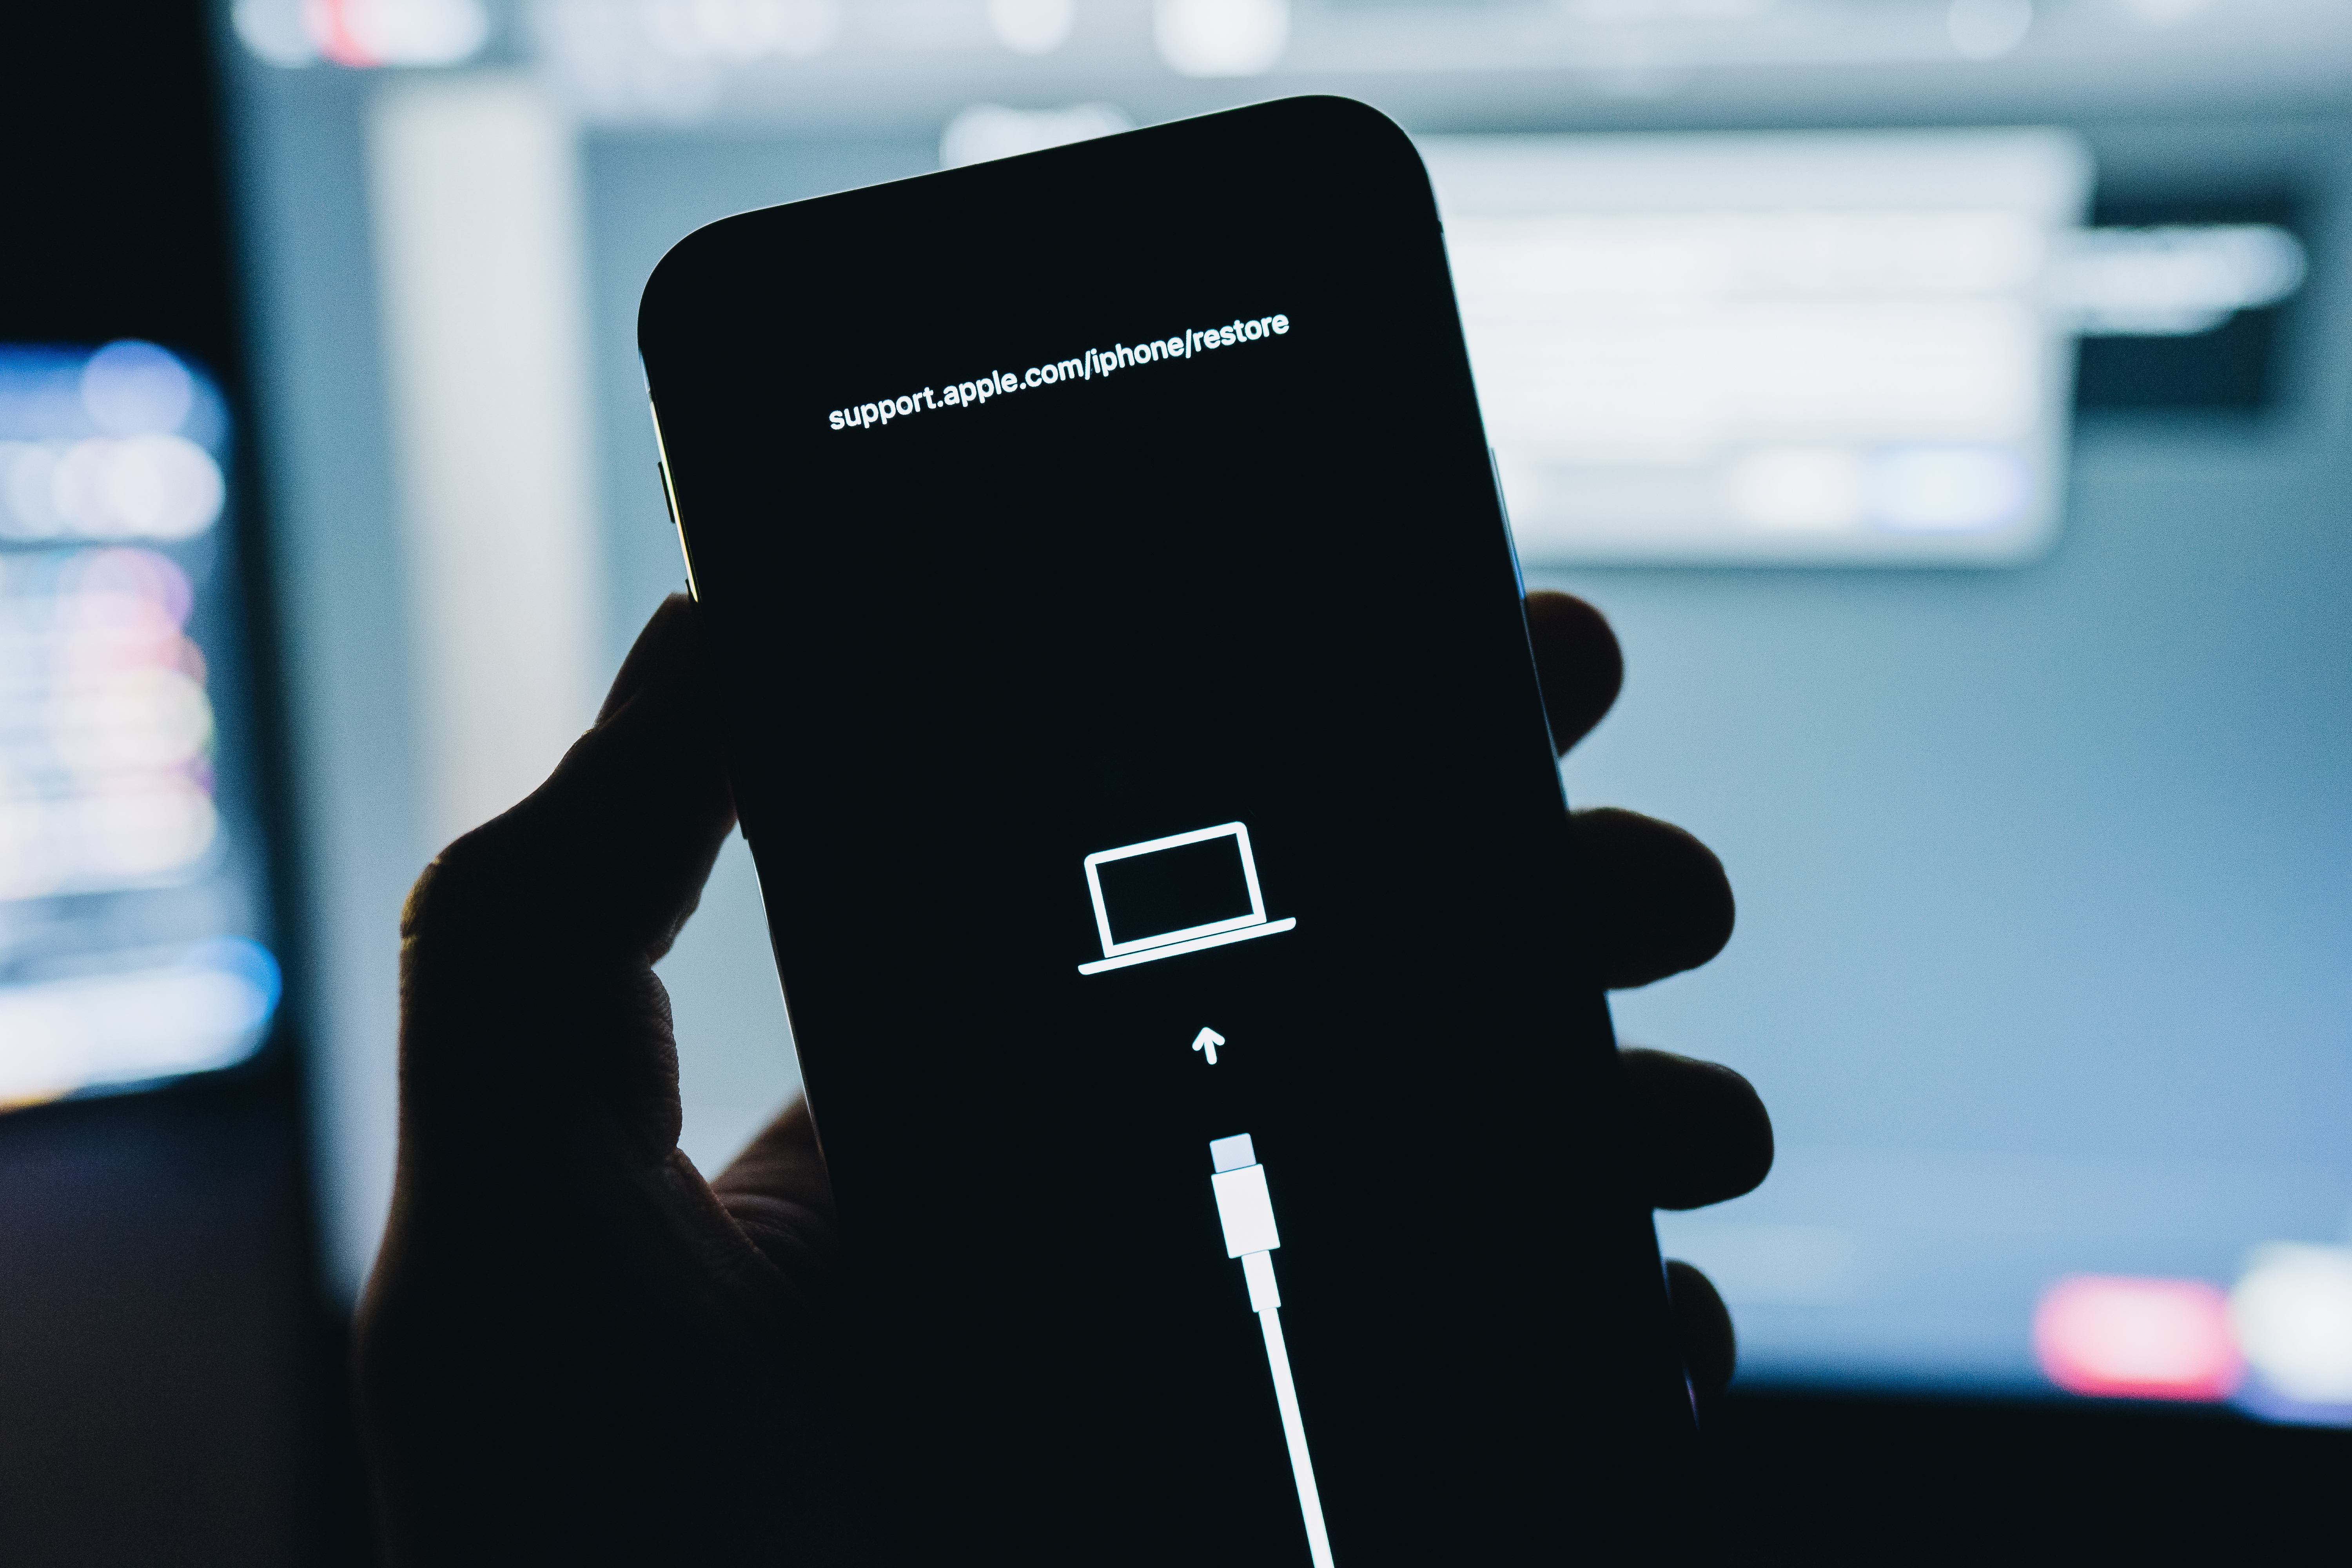
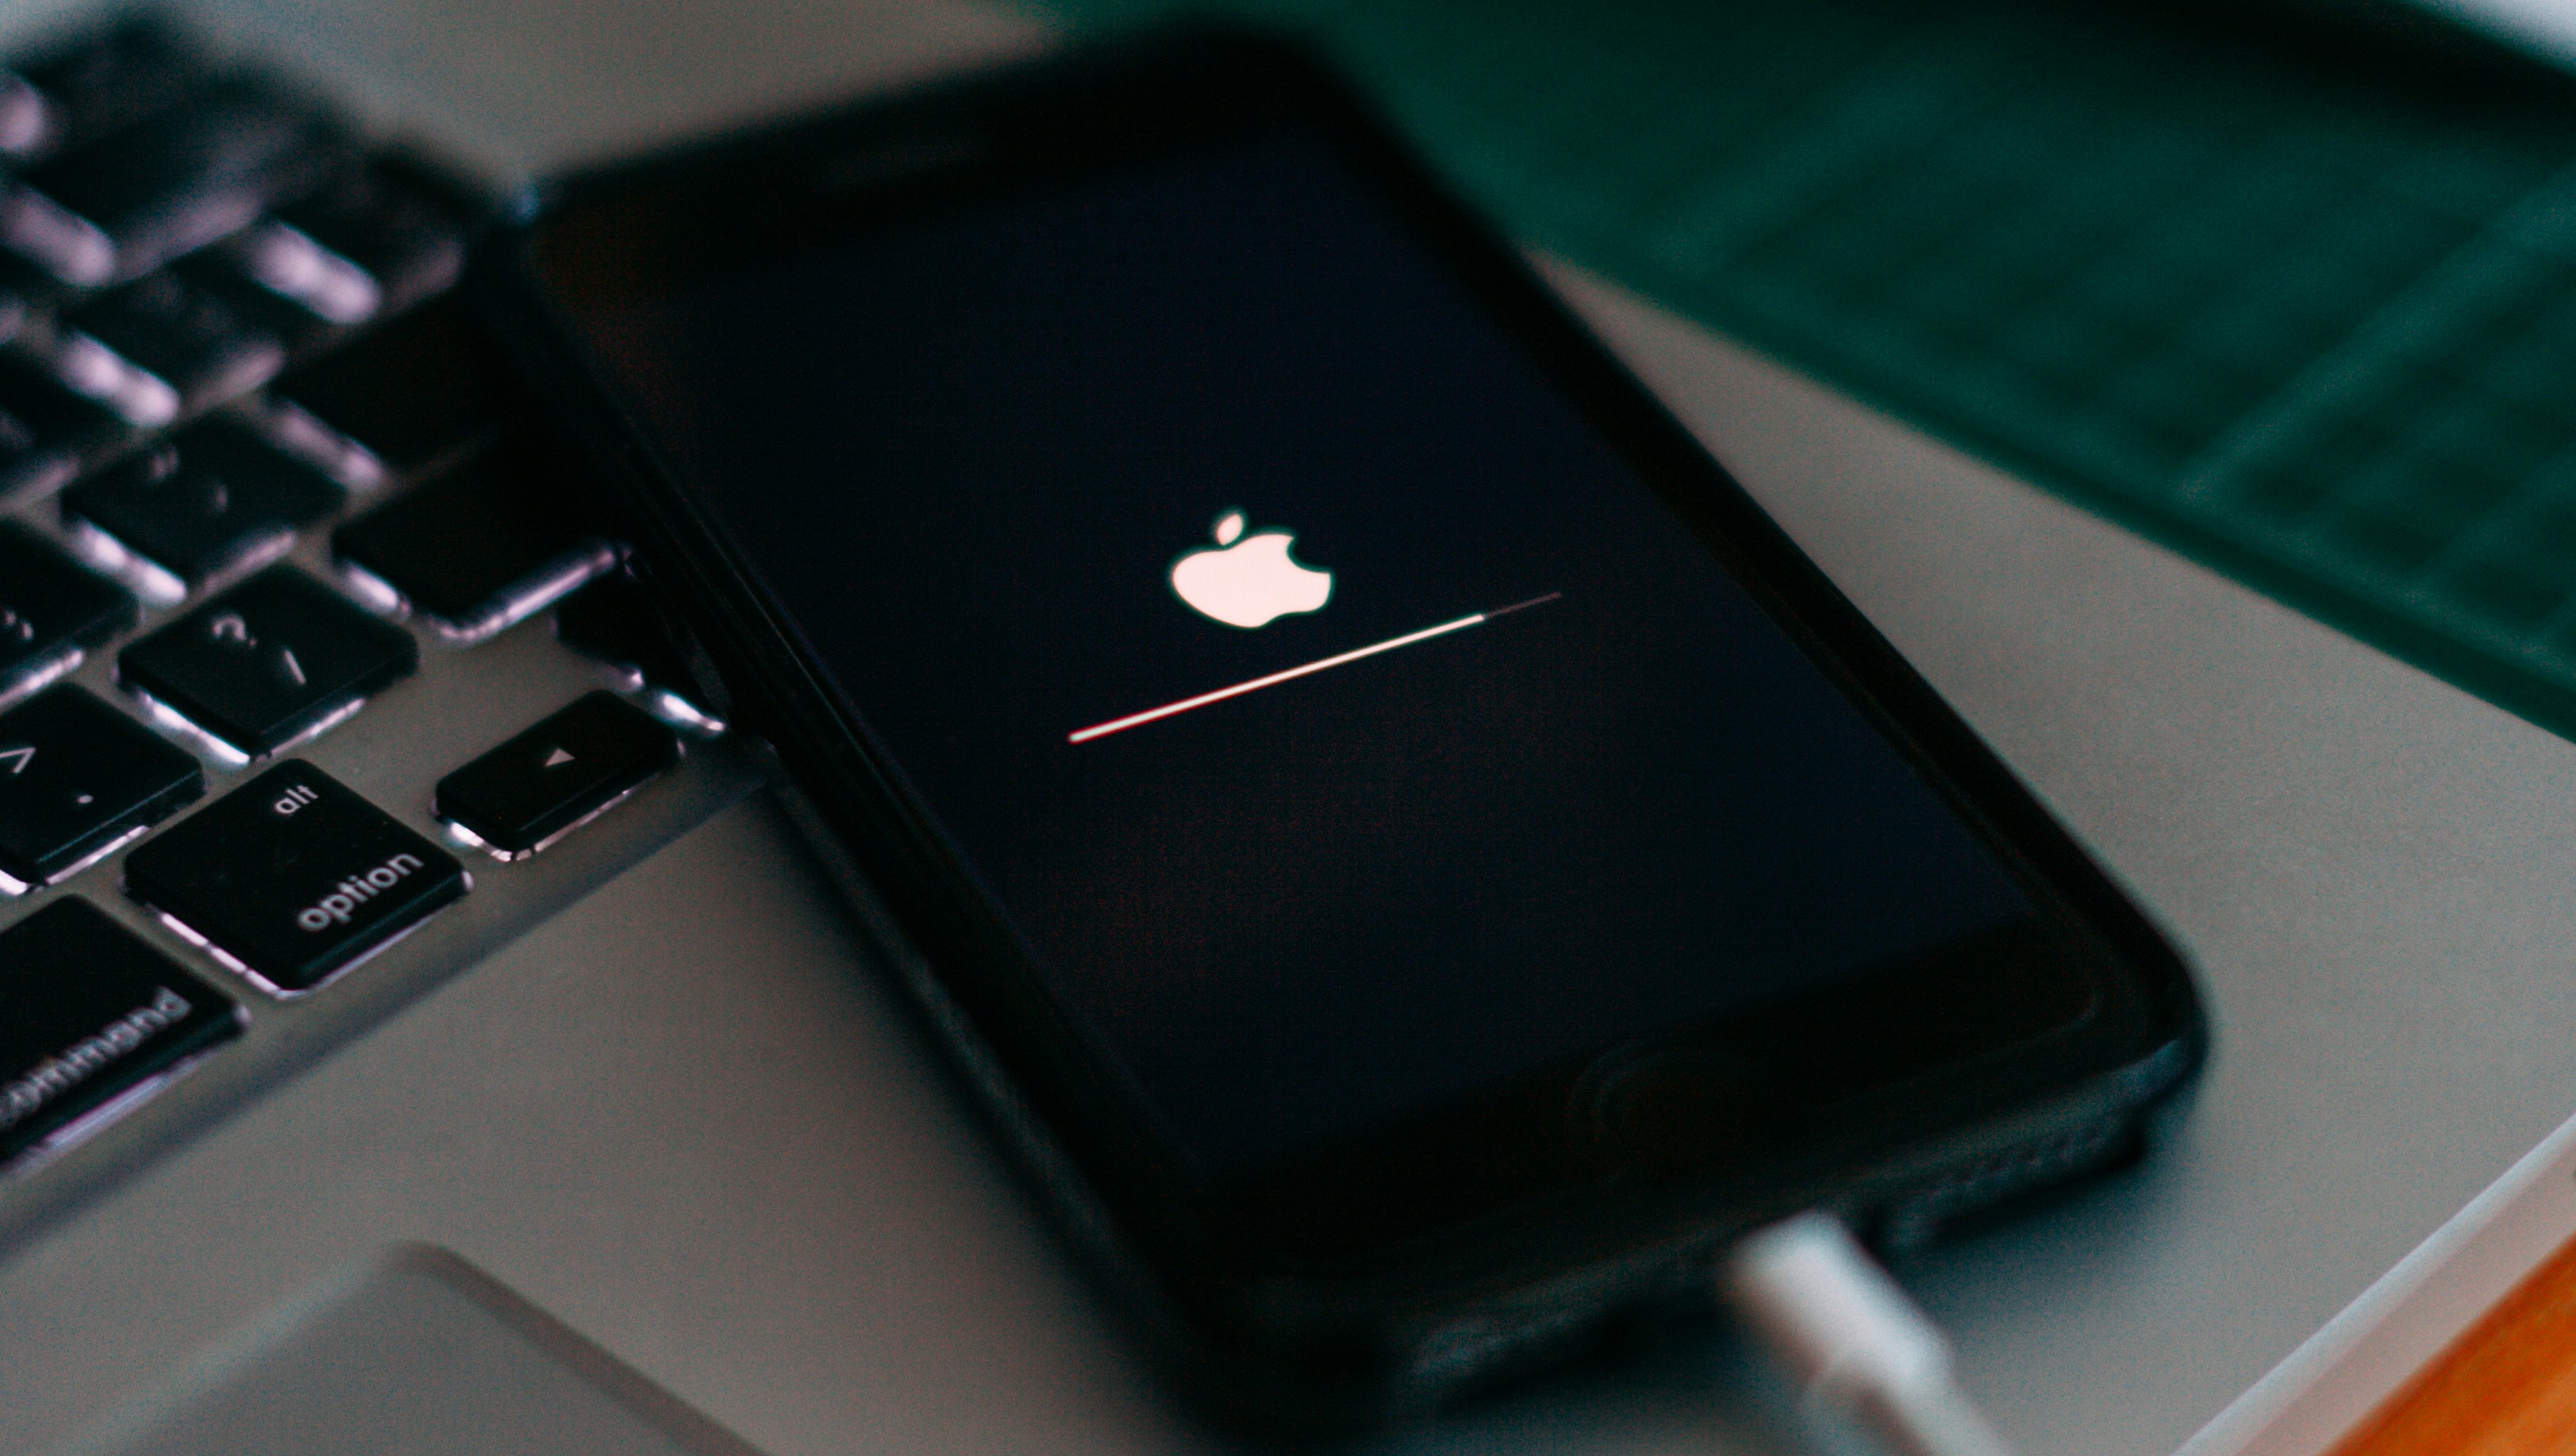
Earlier today, I encountered a malfunction on my iPhone 8 (iOS 16.7.12). Upon power-up, the device displayed a white screen prompting me to “Press Home to upgrade.” After doing so and entering my passcode, the phone showed a white upgrade interface with the Apple logo and a progress bar, though I usually see this on a black background. The upgrade did not complete, and the device booted to the lock screen.
When I unlocked the phone, I observed that all widgets were black, and WhatsApp would neither send nor receive messages despite both mobile data and Wi-Fi being enabled. Worse, the Wi-Fi icon did not appear, indicating no network connection. WhatsApp and several other applications requested permissions as though they had just been installed. These symptoms indicated that something was significantly corrupted in the system. A cursory check of Apple’s official support pages (e.g. If you can’t update or restore your iPhone) implied that a Mac or Windows iTunes installation would be needed to remedy it, a remedy I did not possess. Meanwhile, I was using Ubuntu 25.10 with GNOME 49.
Why this problem matters
The problem rendered the iPhone functionally unusable. It was not possible to reset to factory defaults because that process requires an Apple ID and internet connectivity, both unavailable in its current state. Rebooting the device failed to resolve the issue. The corruption appeared to lie beneath normal application settings, and online backup was not possible in that state. Without a recovery path, the phone was essentially bricked unless the system could be forcefully restored from a lower level.
Thesis
This article presents the procedure I used to reinstall iOS via DFU mode and idevicerestore on Ubuntu 25.10. Along the way, I document the key insights, obstacles, and lessons that emerged.
Background
Apple’s support documentation describes Recovery Mode as a mechanism to reinstall, repair, or erase iOS by connecting to iTunes on a Mac or Windows system. However, without access to those tools on Linux, one must rely on community tools. One such tool is idevicerestore (part of the libimobiledevice suite), a command-line utility capable of restoring firmware files to iOS devices by interacting with low-level boot components. Its GitHub repository describes features such as updating/downgrading firmware and performing erase installs.
Despite being unofficial, idevicerestore proved the only viable option when Recovery Mode proved insufficient. In my research, I discovered Device Firmware Update (DFU) mode via sources like iFixit, an operational state that bypasses the normal bootloader and allows direct firmware flashing even if iOS and the bootloader are compromised.
Methodology
Photo backup
First, I prioritised preserving irreplaceable user data—particularly photos. I connected the iPhone to my Ubuntu desktop, hoping to mount its internal storage. iOS, however, restricts access, exposing only limited app directories (e.g. a browser’s Download folder). To access the photo library, I employed ifuse, another tool in the libimobiledevice suite, which mounts the iOS filesystem. Using ifuse I successfully copied all photos to my Ubuntu machine.
Downloading firmware
- Once data was safe, I proceeded to retrieve the appropriate iOS firmware. Using:
1
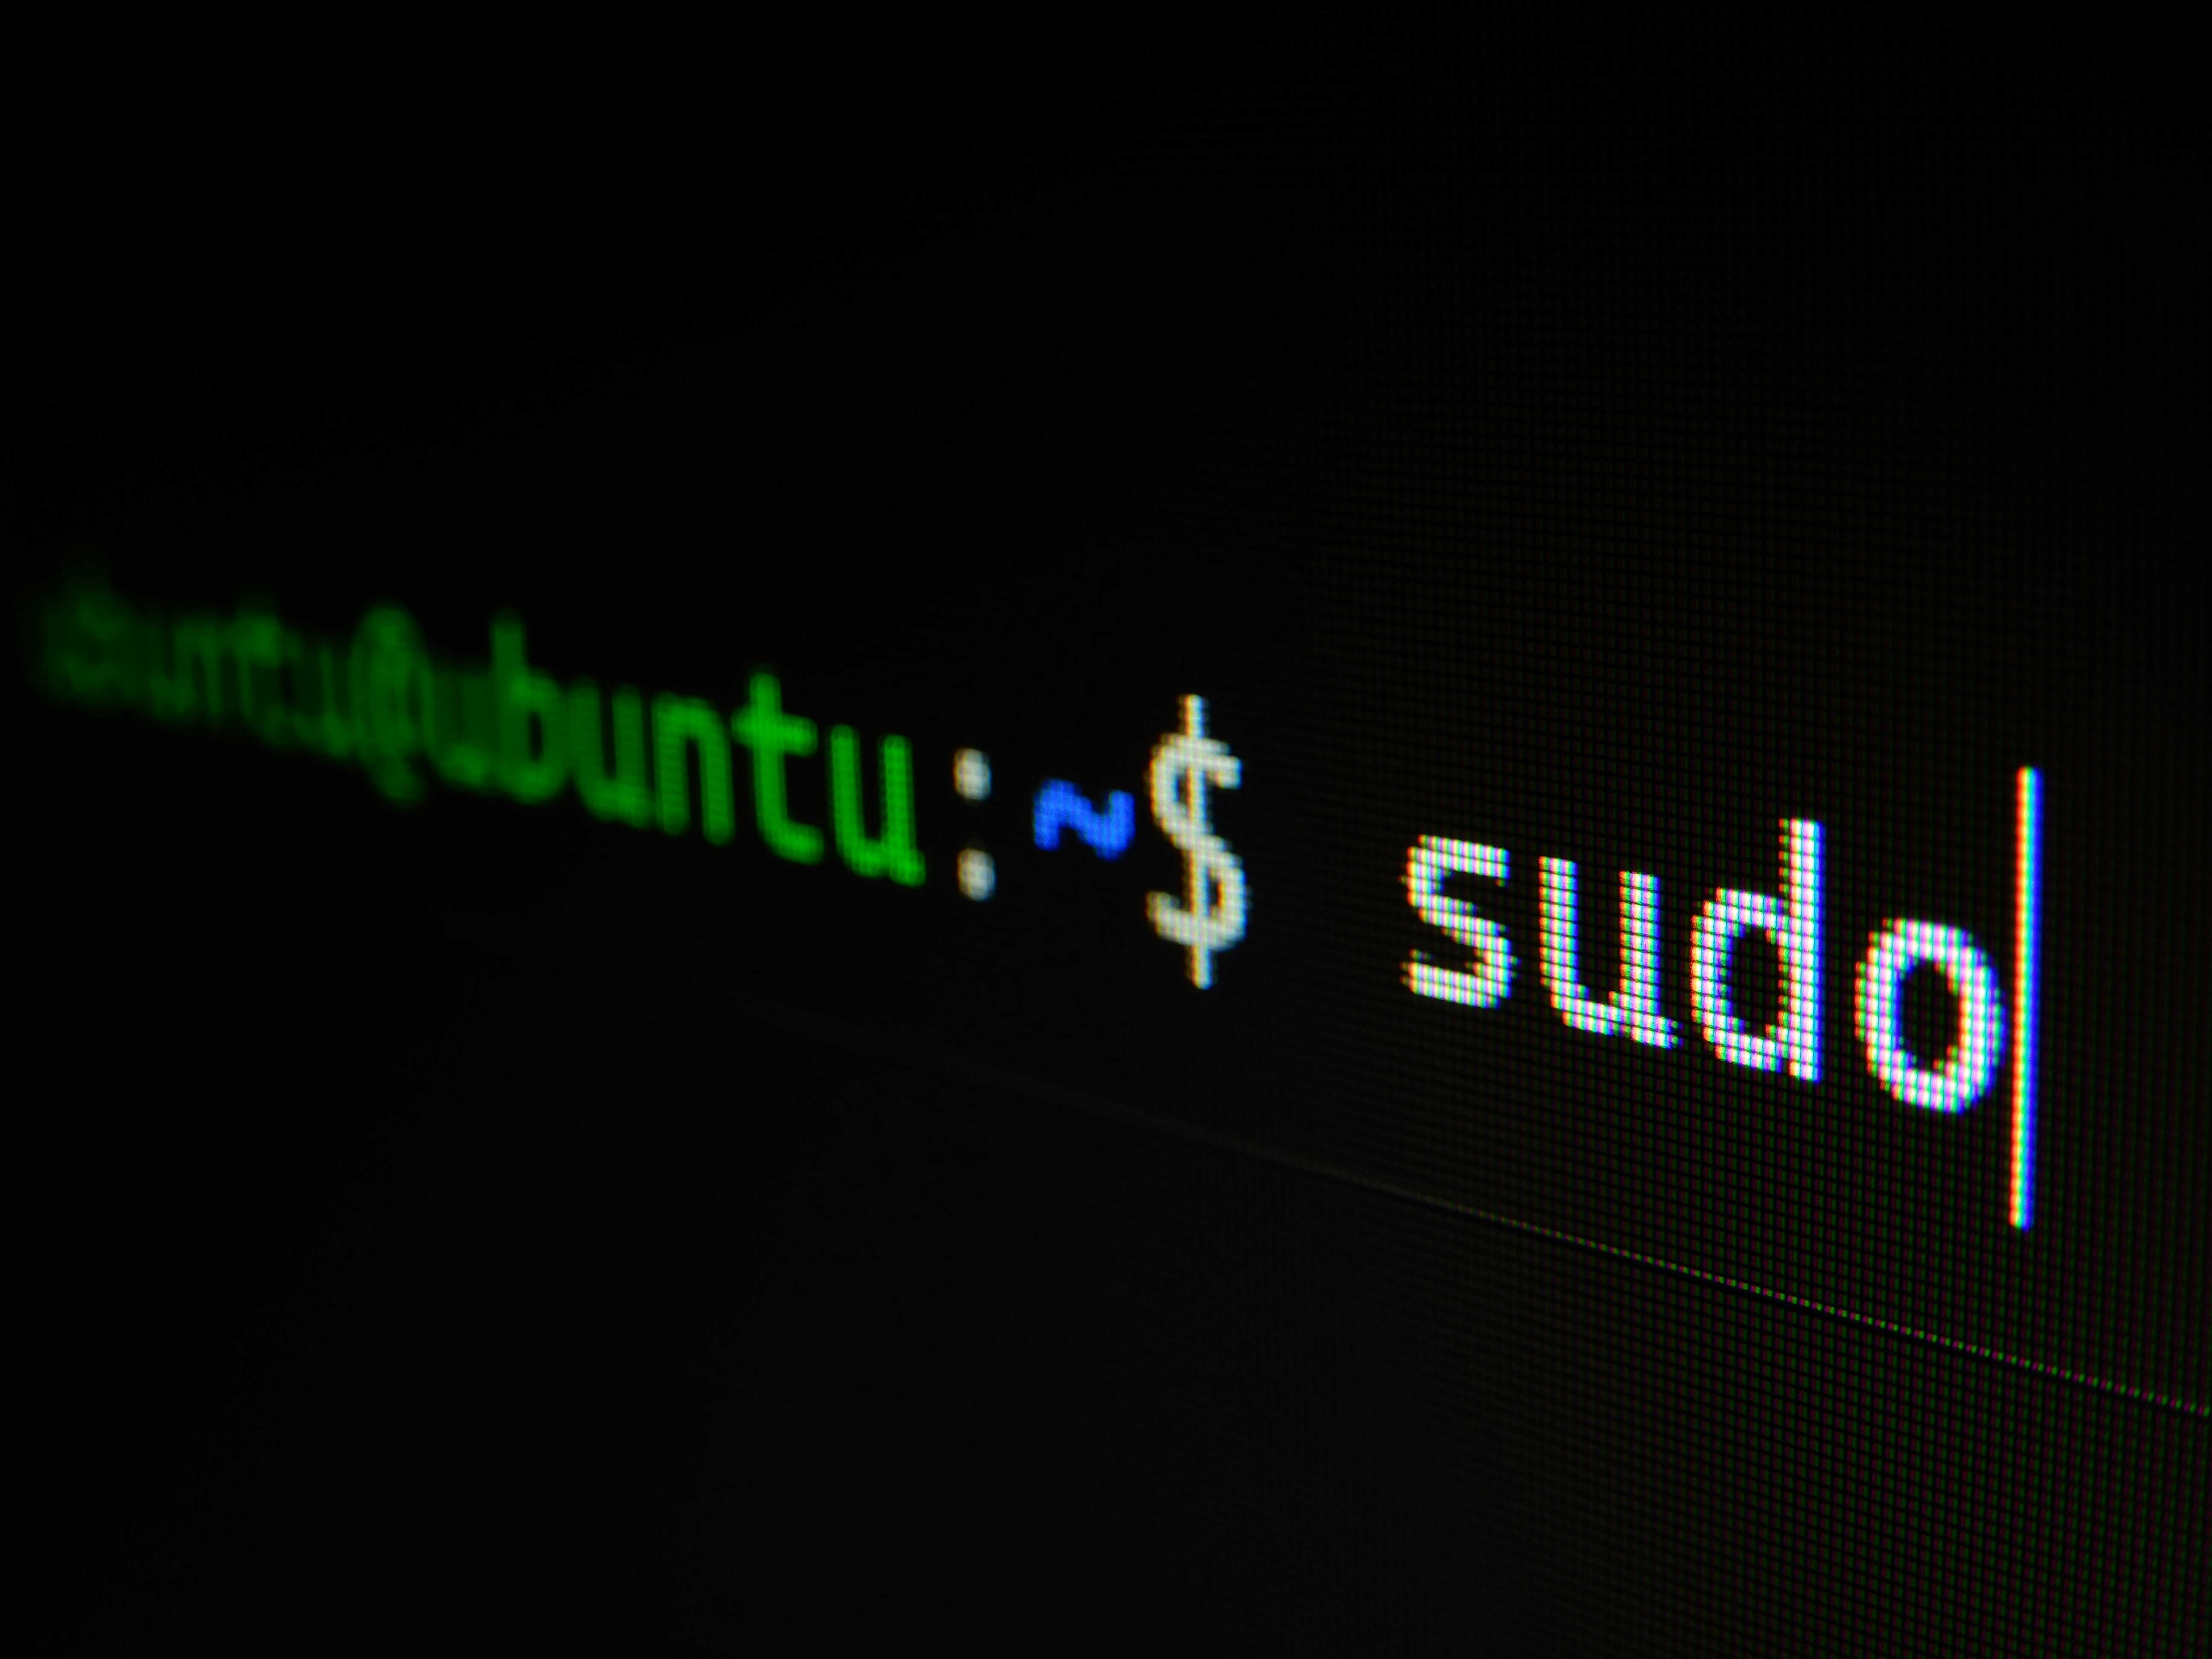
sudo /usr/bin/idevicerestore --latest -y
I used the
--latestoption in idevicerestore, which automatically fetched a firmware file currently supported by Apple.
Because the command was not recognized by my shell initially, I located it via:
1
sudo find / -name idevicerestore 2>/dev/null
which searches the whole filesystem on Ubuntu and redirects any standard errors (the 2) to a file that discards everything written to it like a ‘black hole’.
Attempting recovery mode restore
With the firmware downloaded, I placed the iPhone into Recovery Mode (following Apple’s official steps) and ran:
1
sudo /usr/bin/idevicerestore ~/iPhone_4.7_P3_16.7.12_20H364_Restore.ipsw -y --erase
The restore aborted with:
1
ERROR: Could not read data (-256). Aborting.
Entering DFU
Following iFixit’s instructions (which required multiple trials), I successfully entered DFU mode
Running the same idevicerestore command in DFU mode produced a new error:
This time I got a new error:
1
2
ERROR: Device failed to enter restore mode.
Please make sure that `usbmuxd` is running.
I then manually launched usbmuxd:
1
sudo usbmuxd -f -U root
usbmuxd is a daemon that multiplexes connections between iOS devices and host tools. With it running, I retried idevicerestore. Occasionally, the -256 error recurred, necessitating reentry into DFU mode and repeated attempts. Ultimately, the restore succeeded and iOS was freshly installed.
Results
- Restoration Success: iOS 16.7.12 was installed cleanly.
- Functional Recovery: Black widgets disappeared, network connectivity resumed, and all apps behaved normally.
- Error Log Patterns: The -256 error flagged communication breakdowns; the “failed to enter restore mode” error pointed to
usbmuxdor DFU misconfiguration.
Analysis
During the restore process, I saw repeated errors like “Could not read data (-256)” and “Failed to enter restore mode.” While I’m not an expert in iBoot or usbmuxd, I found useful explanations:
usbmuxd is a background service that “multiplexes connections over USB to an iOS device” (libimobiledevice documentation).
iBoot is Apple’s bootloader, responsible for verifying and loading iOS, and is a key component of the startup chain (Wikipedia).
The blog from ElcomSoft gives a good walkthrough of DFU vs Recovery mode, explaining what parts of the system each mode bypasses or uses.
With those in mind, my hypothesized issues become clearer:
The “-256” error likely indicates communication breakdowns over USB, perhaps between idevicerestore and the device via usbmuxd.
The “Failed to enter restore mode” error points to usbmuxd not running or not listening properly.
Entering DFU provides a cleaner slate because it bypasses iBoot entirely, allowing firmware flashing even if iBoot or Recovery is damaged (as discussed in the DFU/Recovery article).
Implications
This process shows that users can recover deeply corrupted iPhones on Linux using open-source tools—no Apple hardware required. For later iOS versions or hardware, the approach may differ (and Apple may close vulnerabilities), so caution is necessary. Sharing this method may help other Linux users recover their devices
Conclusion
I set out to restore a malfunctioning iPhone 8 running Ubuntu without Apple’s tools. By backing up critical data, entering DFU mode, and methodically invoking idevicerestore with the aid of usbmuxd, I successfully reinstalled iOS. The journey taught me not only the technical steps but also how to interpret error logs, weigh risks, and persist through failures.